This guide will take you though all the steps you need to install HACS.
(Alternately, you can install HACS using these Linux command-line instructions.)
Step 1 - Download HACS latest release
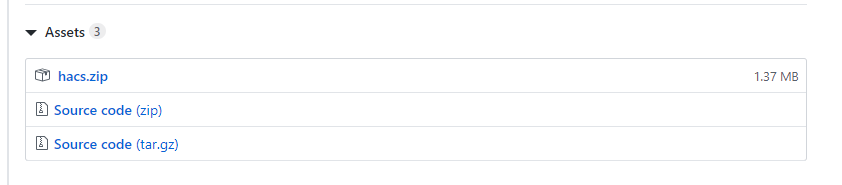
Download the latest release from the release page.
Initialize the download by clicking on the "hacs.zip" link at the bottom of the page.
Step 2 - Extract the content
Unzip the hacs.zip file you downloaded.
After unzipping it looks like:

With this content (NB!: This was the content for 0.20.0, it may be different on other releases.)
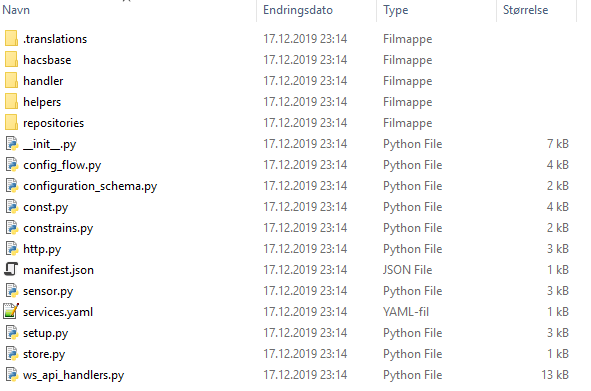
Do you see the .translations directory in the screenshot above? you really really need that one.
Step 3 - Create custom_components folder
Open the folder where you have your configuration.yaml file.
If you do not see a custom_components folder in the same folder as configuration.yaml, you need to create it.
Step 4 - Move along the hacs folder to HA
The folder named hacs needs to be copied to your Home Assistant installation.
Use your favorite tool to move files to Home Assistant.
The hacs folder needs to be placed under <config_dir>/custom_components/
If this is your first custom_component you would need to create a new folder (see step 3).
On Home Assistant (supervised/docker) the final location will be /config/custom_components/hacs
With a venv installation the final location will be /home/homeassistant/.homeassistant/custom_components/hacs
Step 5 - Restart Home Assistant
Restart Home Assistant once before moving to the next step.
Step 6 - ✏️
You should now be done, next part will be to add it to your configuration.